
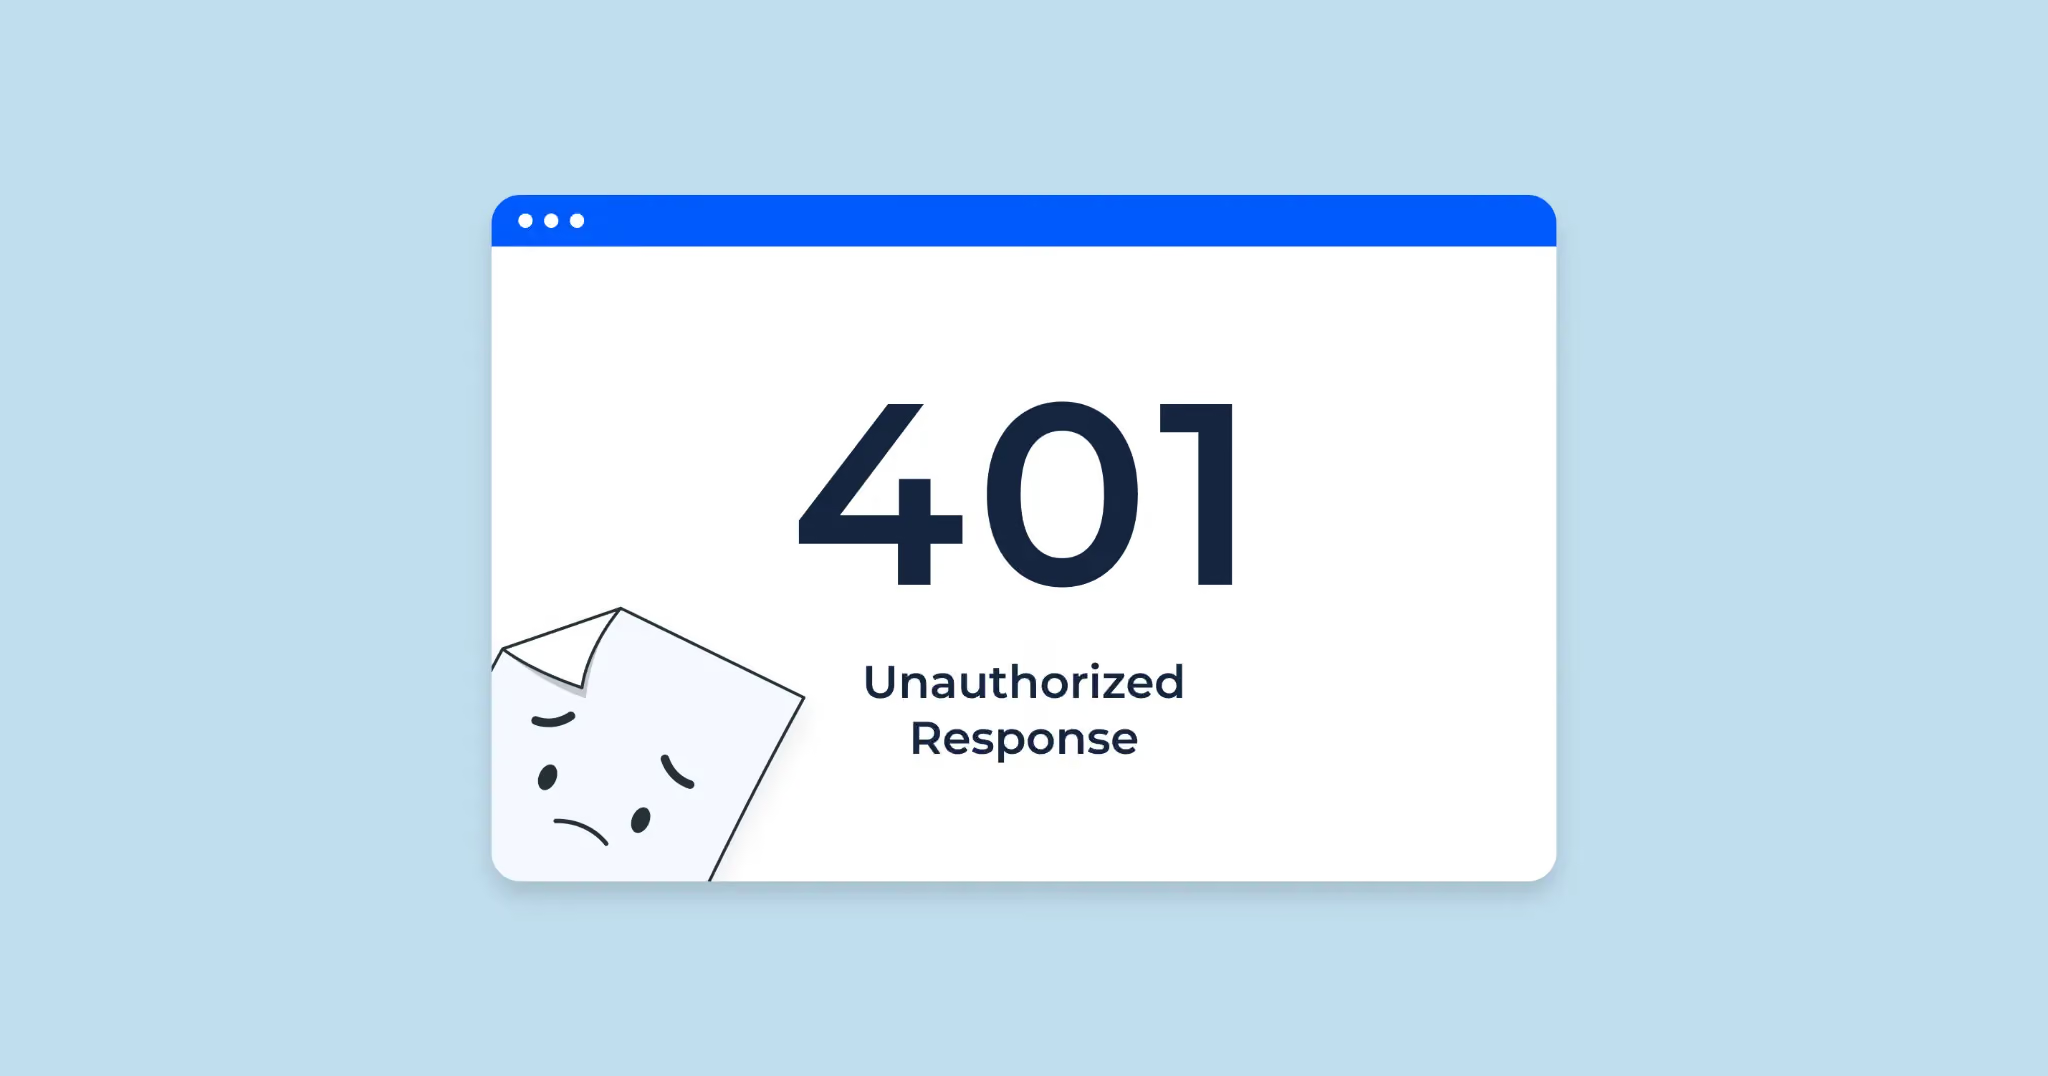

When browsing a website, you might suddenly encounter a notification “401 Unauthorized”, which can be frustrating as it blocks your access to information. So, what exactly is a 401 error, why does it happen, and how can you resolve it quickly? In this article, Markdao will help you understand the causes of the 401 error, effective ways to fix it, and tips to prevent it, ensuring your website runs smoothly and provides an optimal user experience.
What is a 401 Unauthorized error?
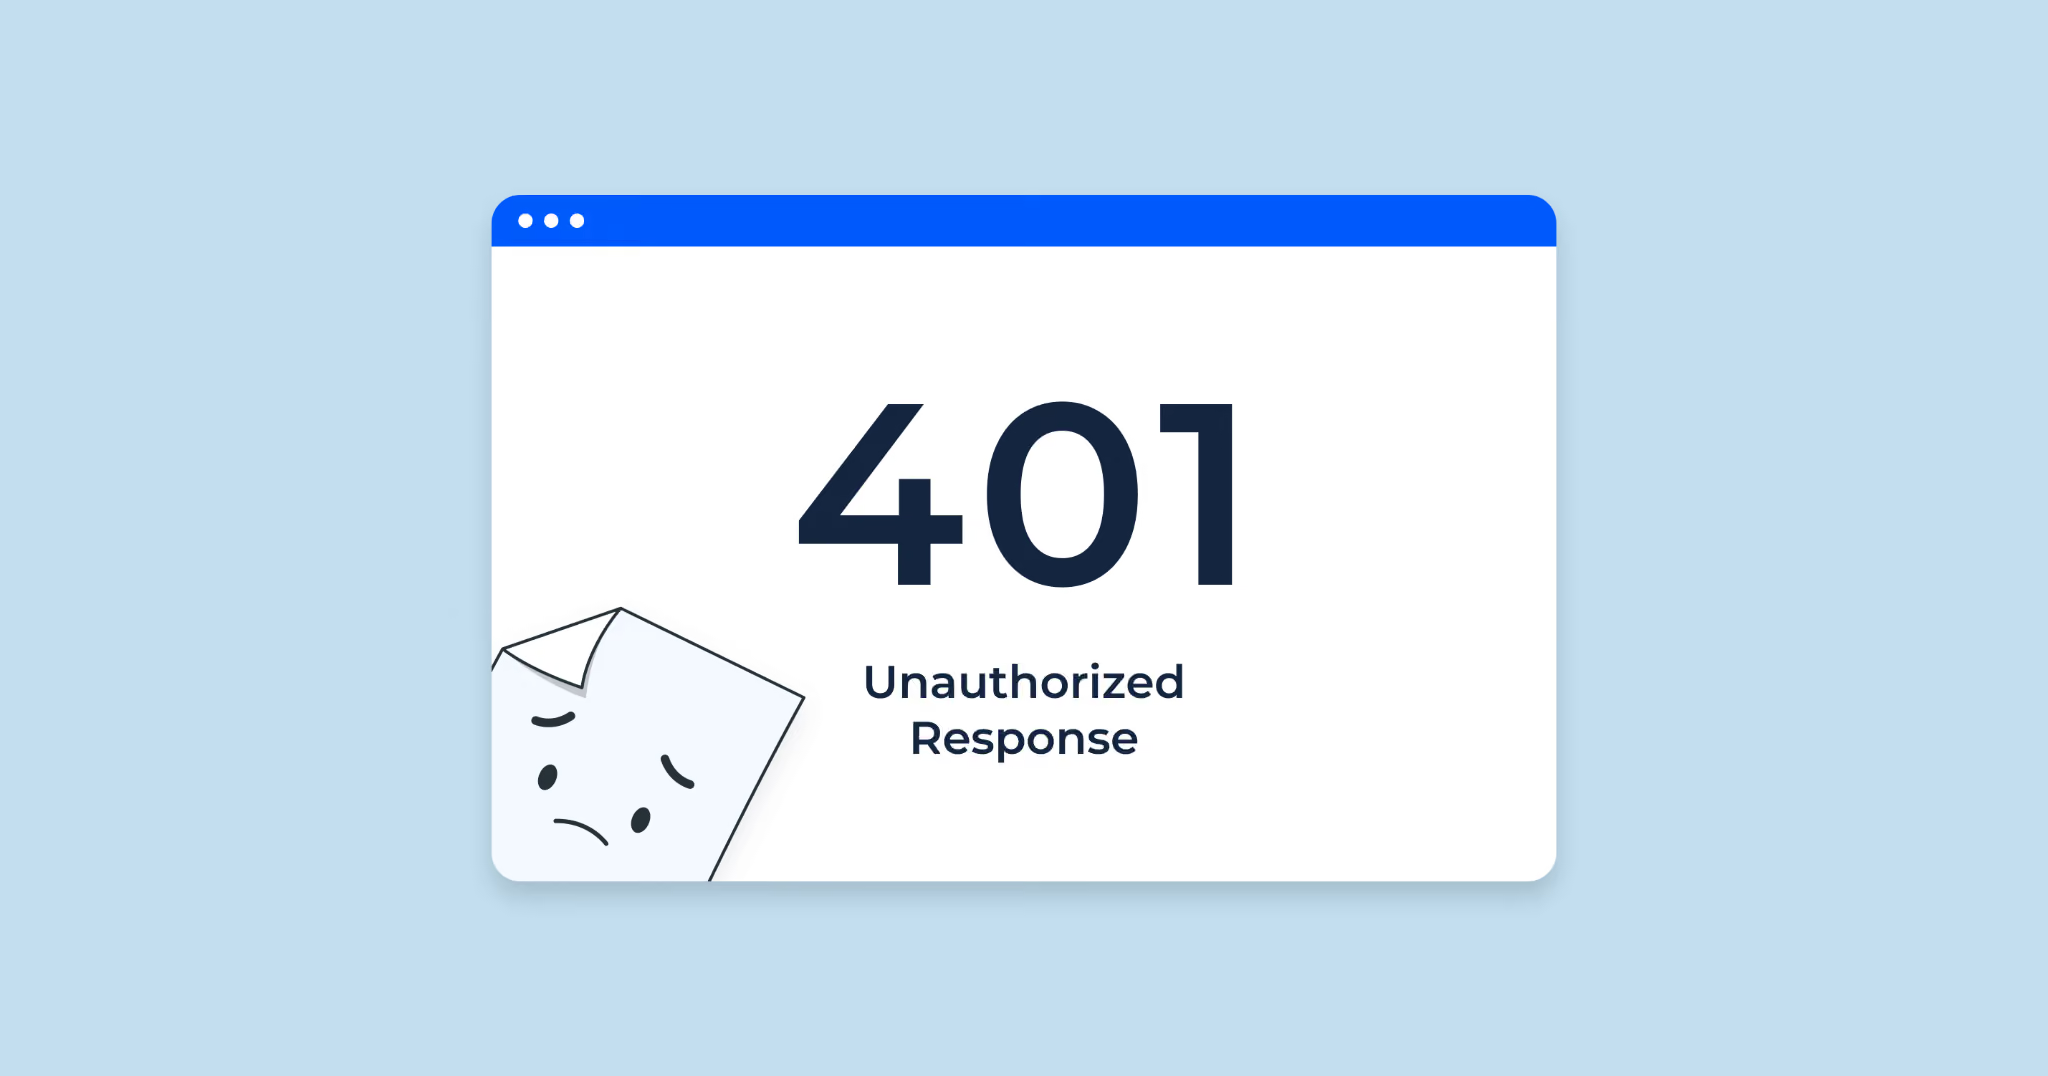
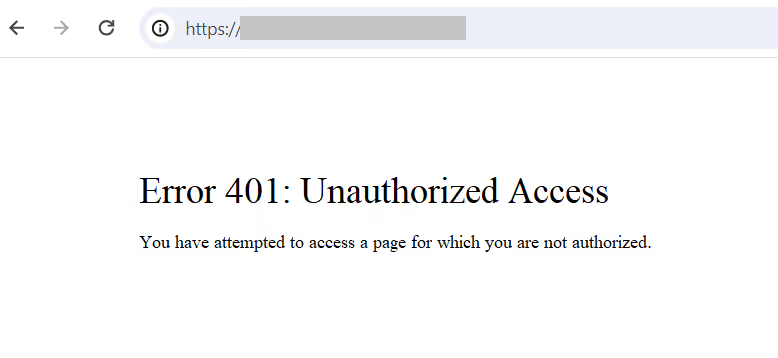
The 401 Unauthorized error is an HTTP status code indicating that the user is not authorized to access a resource on a website or server. In other words, when you see this message, it means the system requires authentication credentials (such as a username, password, or token) that you have either not provided or provided incorrectly.
It is important to note that a 401 error is typically related to authentication, unlike a 403 Forbidden error, which relates to authorization. With a 401 error, you can gain access if you provide the correct credentials, whereas with a 403 error, you are denied access to the resource even if you are logged in correctly.
In practice, a 401 error often occurs in situations such as:
- A user attempts to log in to a website's admin area but enters the wrong password.
- An API from a third-party application requires a valid token, but the token has expired.
- A website requires authentication via HTTP Basic Authentication, but the browser has not sent the correct information.
Understanding the nature of the 401 error not only helps regular users resolve issues faster but is also crucial for web administrators and developers. If not addressed promptly, a 401 error can negatively impact user experience, website reputation, and even SEO performance.
Causes of the 401 error
The 401 Unauthorized error often occurs when the system cannot verify the identity of the user or application attempting to gain access. This is not just a simple login issue; it sometimes reflects complex security configuration problems within a website or API. Specifically, common causes include:
1. Incorrect or missing login credentials
This is the most common situation users encounter. When an incorrect username or password is entered, the system immediately denies access and returns a 401 error. Even missing a single character, confusing uppercase and lowercase letters, or leaving a field blank is enough to cause the authentication process to fail.
2. Expired tokens or login sessions
Modern websites and applications typically use session or token to maintain login status. However, to enhance security, these sessions have a set expiration time. Once a session expires or a token is no longer valid, the user will be disconnected and receive a 401 notification.
For example: When you log into an e-commerce app and leave it idle for too long, the system may require you to log in again when you return to add products to your cart because the token has expired.
3. Corrupted browser cookies or cache
Cookies and cache help browsers store authentication information, allowing users to avoid logging in repeatedly. However, if a cookie is corrupted or the cache stores outdated data, the browser will send incorrect authentication information to the server. In this case, the server cannot accurately identify the user and will return a 401 code.
For example: You have changed your Google account password, but your browser cache still stores the old information. When you try to access Gmail, the system will deny access because the authentication data does not match.
4. Incorrect server configuration or .htaccess file
In many cases, a 401 error does not originate from the user but rather from an incorrectly configured server. A single incorrect command line in an .htaccessfile, or a mistake in directory permission settings, can cause a website to mistakenly block valid users. This is a fairly complex issue that usually requires a developer or server administrator to investigate and adjust.
5. Restricted API or service access
When working with APIs, users must have an API key or the appropriate access permissions. If the key is missing, entered incorrectly, or has been revoked, the system will deny access. This often occurs in applications that connect to third-party data.
6. Firewall or advanced security issues
Some websites implement firewalls or strict security systems to block unauthorized access. If your IP address is flagged or violates security policies, the server may block your access entirely and return a 401 error code, even if your credentials are correct.
In summary, a 401 error can stem from either the user (incorrect input, expired token) or the server (misconfiguration, permission restrictions). Understanding each cause will help you choose the right fix and avoid wasting time on trial and error.
How to effectively fix the 401 Unauthorized error
The 401 Unauthorized error is a common issue, but it can sometimes be difficult to diagnose without a clear troubleshooting process. This section provides a detailed, step-by-step guide, including examples and diagnostic commands, to help you (or your technical team) identify the root cause and resolve it permanently.
I have divided this into 5 main headings for easy reference.
1. Quick check & reproduction steps
Before attempting a fix, reproduce the error and collect information:
- Open Developer Tools → Network (Chrome/Firefox) and perform the action that triggers the error. Check the request returning 401: header, payload, and status text.
- Use curl to check the header/response directly (to rule out frontend issues):
# Simple check
curl -i -v https://example.com/protected
# If the API uses a Bearer token
curl -i -v -H "Authorization: Bearer <YOUR_TOKEN>" https://api.example.com/protected
- Check if the server includes the WWW-Authenticate header, which usually indicates the authentication type (Basic/Bearer).
- Record the timestamp, user-agent, endpoint, request headers, and body to cross-reference with server logs.
Goal: know exactly which request is getting a 401, what headers are being sent (whether Authorization is included or not), and how the server is responding.
2. Fix client-side errors (user / frontend)
If the cause is that the client is not sending authentication information or is sending it incorrectly, follow these steps:
a) Check login credentials
- Verify the username/password, keeping in mind that they are case-sensitive.
- Disable autofill or password manager logins to try manually.
b) Handle expired tokens/sessions
- If using JWT or access tokens: check the expiration time (exp). If the token is expired, you must refresh it or log in again.
- Use the curl command to check the token:
curl -i -H "Authorization: Bearer <ACCESS_TOKEN>" https://api.example.com/me
- Implement a refresh token mechanism: when the server returns a 401 due to an expired access token, call the refresh endpoint (e.g., /auth/refresh) to obtain a new access token and then retry the request.
c) Axios interceptor example for automatic refresh
// Note: example only, requires proper error handling and security measures
axios.interceptors.response.use(
res => res,
async error => {
const originalRequest = error.config;
if (error.response && error.response.status === 401 && !originalRequest._retry) {
originalRequest._retry = true;
const refreshToken = getRefreshToken(); // retrieve from secure storage / cookie
const { data } = await axios.post('/api/auth/refresh', { refresh_token: refreshToken });
setAccessToken(data.access_token);
originalRequest.headers.Authorization = `Bearer ${data.access_token}`;
return axios(originalRequest);
}
return Promise.reject(error);
}
);
Security note: for secure refreshing, store the refresh_token in an httpOnly cookie instead of localStorage whenever possible.
3. Handling cookies, cache & browser
Sometimes corrupted cookies or outdated cache can cause invalid headers to be sent:
- Quick guide for users: open an Incognito window to test; if it works, clear your browser cookies/cache, or log out and log back in.
- Check cookie domain/path/secure/httponly: cookies that are invalid for the domain or missing the Secure flag when required may not be sent.
- For SPAs: check the token storage logic (ensure the Authorization header is set before the request is made).
4. Check server configuration and .htaccess file (server-side)
If the client has sent the correct information but still receives a 401 error, the issue is usually in the server configuration:
a) Apache (.htaccess)
Example .htaccess for Basic Auth:
AuthType Basic
AuthName "Restricted Area"
AuthUserFile /var/www/.htpasswd
Require valid-user
Create the .htpasswd file:
htpasswd -c /var/www/.htpasswd username
b) Nginx
location /admin {
auth_basic "Restricted";
auth_basic_user_file /etc/nginx/.htpasswd;
}
c) Check file/directory access permissions
- Permissions on the file containing the resource must allow the web server to read it.
- An incorrect path to the .htpasswd file or an incorrect directive can cause the server to return a 401 error.
d) Check logs
- Apache: tail -n 200 /var/log/apache2/error.log
- Nginx: tail -n 200 /var/log/nginx/error.log or journalctl -u nginx -f
Logs usually indicate the cause: missing headers, invalid tokens, or authentication module errors.
5. Check API keys, access permissions, and security policies
For API systems:
- Confirm that the API key/token is still valid, has not been revoked, and has the necessary scopes/permissions.
- Check the expiration date and IP whitelist (if the API has IP restrictions).
- For OAuth: check that the client_id/client_secret and redirect URI match the configuration on the provider.
- If using a firewall (WAF) or security system (fail2ban, mod_security), check if the request IP is blocked; blocking may return a 401 or 403 depending on the configuration.
Quick troubleshooting checklist
- Reproduce the error → check Network / curl.
- Check if the Authorization header is being sent.
- If using a token: check the expiration (exp) or try refreshing the token.
- Clear cookies/cache and try in incognito mode.
- Check server logs for detailed error messages.
- Check .htaccess file / Nginx config / permissions.
- Check your API key, scopes, and IP whitelist.
- If you are using a load balancer or proxy, ensure the Authorization header is not being stripped.
Handling 401 errors effectively is both a technical and proceduralmatter: reproduce the error accurately, check headers and tokens, and review server logs before making fixes at the client or server level. Additionally, follow security best practices: use HTTPS, store refresh tokens securely (e.g., in httpOnly cookies), set reasonable token expiration times, and implement an automatic refresh mechanism.
Tips to avoid 401 errors in the future
To minimize the chances of encountering a 401 Unauthorizederror, you can proactively apply these simple yet effective solutions:
- Always verify and store your login credentials securely to avoid input errors or confusion when accessing services.
- Use a password manager to auto-fill usernames and passwords, which helps reduce human error.
- Log out and log back in periodically during long sessions to refresh your credentials and prevent token expiration.
- Clear your cookies and cache regularly to prevent outdated data from causing authentication errors.
- For APIs or data-connected applications, manage your keys and tokens carefully and renew them before they expire.
- Ensure your server configuration and .htaccess files are set up correctly, and perform regular checks to detect issues early.
- Enhance security by using HTTPS and implementing proper access controls for each account to prevent unauthorized access.
Applying these tips not only helps you mitigate the risk of 401 errors but also ensures the security and stability of your system. When a website runs smoothly and reliably, it enhances the user experience and contributes to long-term SEO performance.
Conclusion
Error 401 Unauthorized may seem like just an annoying notification at first glance, but behind it lies a critical website security mechanism. Understanding what a 401 error is, its causes, and how to fix it will help you resolve issues quickly, maintain a smooth user experience, and keep your website running stably. More importantly, implementing preventive measures helps businesses avoid recurring errors while strengthening customer trust.
If you are looking for a more comprehensive solution to optimize your website both technically and for SEO performance, Markdao is the partner ready to accompany you, helping your website not only stay secure and stable but also break through in search engine rankings.